
Simple solids surround an offset print centre square in this classic block. We have our work cut out for us this week, as there are 36 square in a square block in the quilt.

Square in a square blocks can be a challenge to keep the points on the offset square.
In this block our centre square is 3 3/8". This odd sized square will take a bit of time, and glasses to cut.
A couple of simple tips can assist with ensuring you have a full 1/4" seam allowance at the points for the centre square.
The first tip: It all starts with a larger triangles for the sides of the centre square. You start with a 3 1/4" solid square at and cut it in half along the diagonal.
These triangles will be a fair bit larger than the centre square. You will have "dog ears" over 1/4" beyond the edge of the centre square. Ensure the long side of the triangle is centred on the side of the centre square.
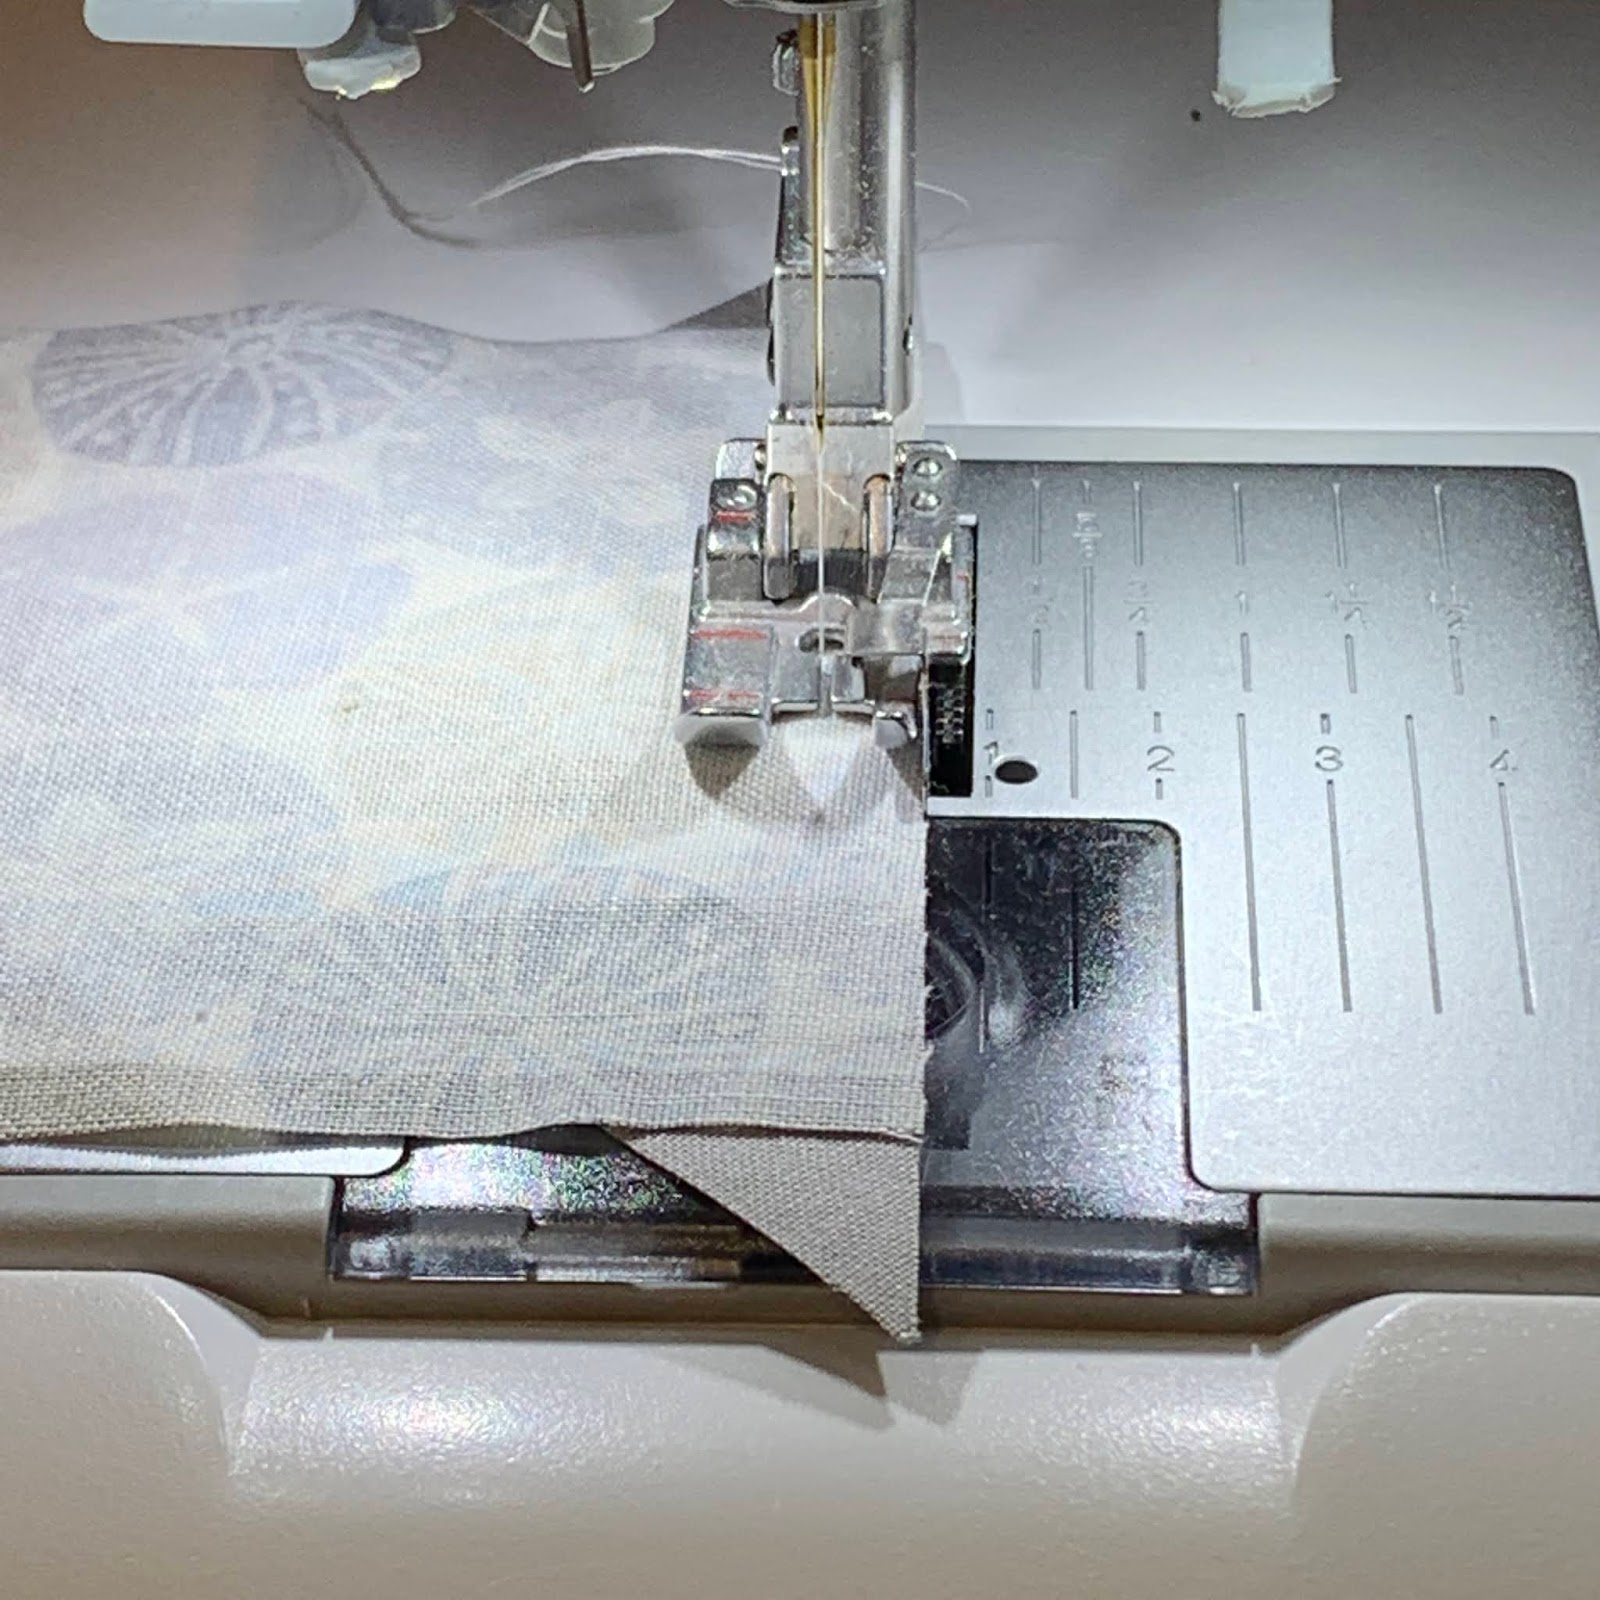
If you are like me, my natural tendency would be to have the triangle on the top when you sew the seam. However, this contributes to less than accurate block.
Why?
It's hard to sew an accurate 1/4" seam along the centre square if you can't see it.
Third Tip: Before you press the triangle away from the centre square, run your fingernail along the seam to flatten the seam. Press and lightly starch. My go to starch is the Acorn Easy Press Pen. This pen doesn't over wet the block. Over wet blocks tend to ripple as opposed to lying flat.
Once sewn, the block will be oversized. A slightly oversized block can be trimmed to an accurate 4 1/2" square.
You will get a lot of practice making this block, by the time you complete the 36th block you will have perfected this technique!
Download the instructions for Step 9 from the link below:
Scrap Basket 2 - Step 9
No comments:
Post a Comment